Thứ Tư, 31 tháng 8, 2016

Nut Free Macaron Recipe | substitute almond flour

substitue almond meal macaron

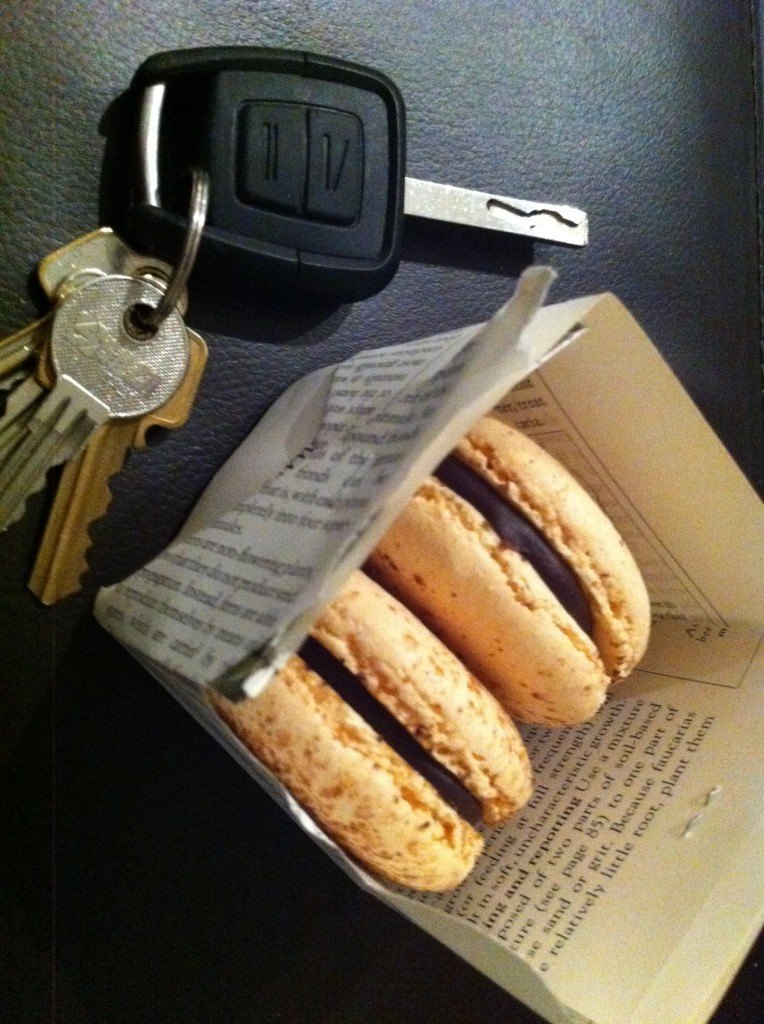
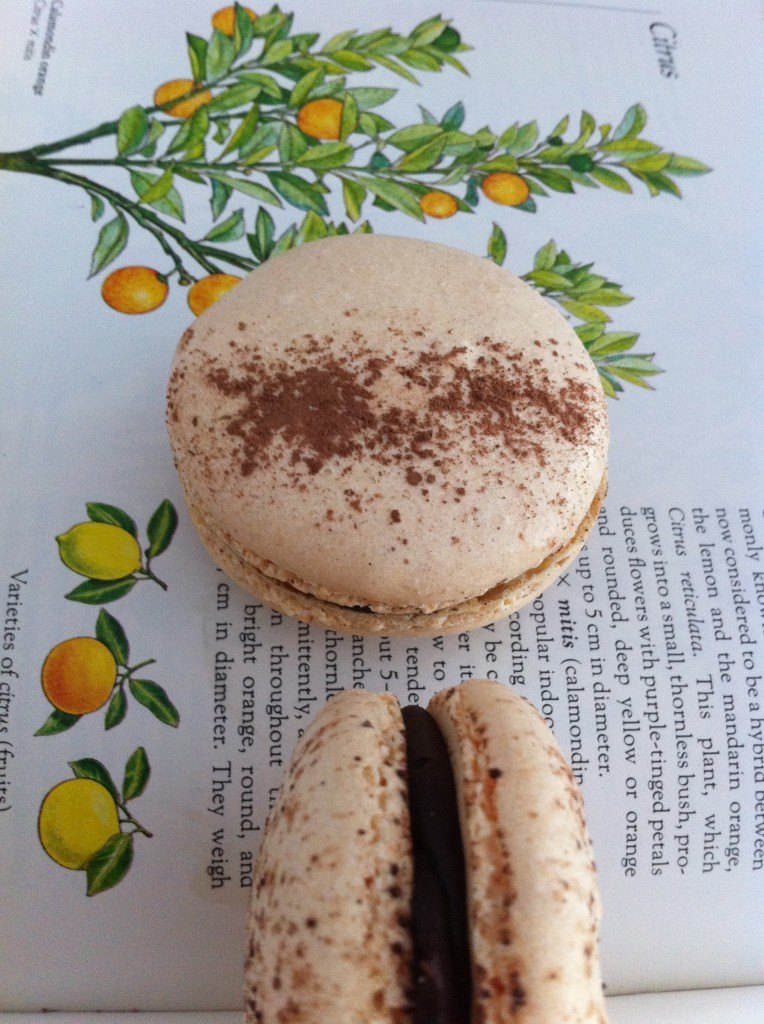
This is a golden macaron. It is special because it contains no nuts. That’s right not a hint of almond meal or any other ground nuts or seeds. Many people have nut allergies and some just can not get hold of almond meal so they asked ‘Can I substitute almond meal for wheat flour?‘ To which I would answer, ‘Almond meal is high in fat and protein and low in carbs, wheat flour is high in complex carbs, low fat and low protein so the substitution would not work’. But that got me thinking what else could we use.
I have read other recipes that use ground pumpkin seeds. I don’t grind my own almonds, I buy them as almond meal or flour so the thought of buying seeds and grinding them seemed like too much hard work. If you want to try that method, swap in equal quantities for the almond meal.
At first the only other things I could think of that were high protein and fat were also full of water, like egg yolks, which wouldn’t help. Then white chocolate came to mind – high fat, high protein and high sugar. Perhaps if I reduced the sugar in the recipe I could get the nutritional composition of the white chocolate to match the almond meal and it will work – may be!
A couple of trial runs and adjusting ingredient quantities and we have nut free macarons. Now let me warn you they look and taste great but they are not perfect they are a little hollow. If you are after perfect macarons then almond meal is the best way to go.
Nut Free Macaron Ingredients
140g (4.94 ounces) or 4 egg whites
72g (2.54 ounces) or 1/3 cup caster sugar
240g (8.47 ounces) finely grated white chocolate
120g (4.23 ounces) or 1 cup icing sugar sifted
Nut Free Macarons Directions
Whisk together your egg whites and sugar until stiff, add colour if desired and whisk through. Egg whites should be stiff enough that you can turn your bowl upside down and it will not spill out of the bowl.
Gently fold in your icing sugar and white chocolate. Once it is just combined continue to fold some more until some mixture dropped into the bowl very slowly melds down into the rest of the mixture. You do not want a runny mixture or your macarons will be flat. See the video for a visual example of what you are looking for.
Pour the mixture into a piping bag or ziploc bag with the corner cut off and pipe circles onto non-stick baking paper.
Bake at 150 degrees C for approximately 20 minutes. I like to bake on the top shelf for 15 and then move down for the last 5 – 10 as needed. Leave to cool on the paper and then carefully peel off.
Pair similarly sized macrons and fill with ganache. The recipe should make about 20 macarons.
Chocolate Ganache Recipe
150g (5.29 ounces) dark chocolate chopped
50g (1.76 ounces) or 3 tbsp plus 1 tsp cream
Place chocolate in a bowl. Bring the cream to the boil and pour over the chocolate. Wait approximately 3 minutes for the chocolate to melt and then stir until smooth. Place in a ziplock bag in the fridge until firm enough to pipe – it thickens as it cools.
Resource: howtocookthat

Chocolate Orange Macarons Macaroons Recipe


It seems people either love or hate the combination of orange and chocolate, I fall into the love category with this one. If it is not your cup of tea try flavouring the cream with something different like licorice, mint or even rosemary might be nice.

Easy Macaron Recipe Ingredients

4 large egg whites (or 5 small – 140g (4.94 ounces))
1/3 cup or 72g (2.54 ounces) caster (super fine) sugar
1 1/2 cups or 189g (6.67 ounces) icing (powdered) sugar
1 cup or 105g (3.7 ounces) almond meal
2g (0.07 ounces) salt
gel food colouring (optional)
Macaron Recipe Directions
Preheat the oven to 150ºC (302ºF)
Place egg whites and caster sugar in a bowl and mix with electric mix until stiff, you should be able to turn the bowl upside down without it falling out.  Add orange gel food colouring and continue to mix for a further 30 seconds.
Sift the almond meal and icing sugar and salt twice, discarding any almond lumps that are too big to pass through the seive. Fold into the egg white mixture. It should take roughly 50 folds until the mixture is smooth and a very viscous liquid, not runny. Over-mix and your macarons will be flat and have no foot, under mix and they will not be smooth on top.  See the video to get an idea of what the mixture looks like when it is ready.
Pipe onto trays lined with baking paper, rap trays on the bench firmly (this prevents cracking) and then bake in the oven for 20 minutes. Check if one comes off the tray cleanly, if not bake for longer. If they are looking done on top move to the bottom shelf of the oven for the remaining time to help bake the base.
choc orange macaroons
Ganache Recipe
100g (3.53 ounces) milk or dark chocolate
30 millilitres (1.01 fluid ounces) or 2 Tbsp cream (35% fat) or 20g (0.71 ounces) full cream milk if you don’t have cream
grated rind of 1 orange
optional – juice of one orange boiled down to 1 tablespoon
Break the chocolate up and place into a bowl.  Bring the cream to the boil with the orange rind.  Take off the heat and leave to sit for 30 minutes for the flavour to infuse.  Bring to the boil again then pour through a sieve onto the chocolate. Let stand for two minutes and then stir.   If it is not adequately melted then microwave for 20 seconds and stir – repeat until smooth.  If you want a more intense flavour, add your reduced orange juice here and stir.  Allow to cool and thicken before piping onto macarons. I put it in a ziplock bag flat in the fridge to cool it quickly.
Pair the macaron shells into ones that are similar sizes.  Fill with ganache and sandwich together.
chocolate orange macaroon
Macaron FAQ:
Resource: howtocookthat

Meringue Cake Recipe

meringue recipe pavlova
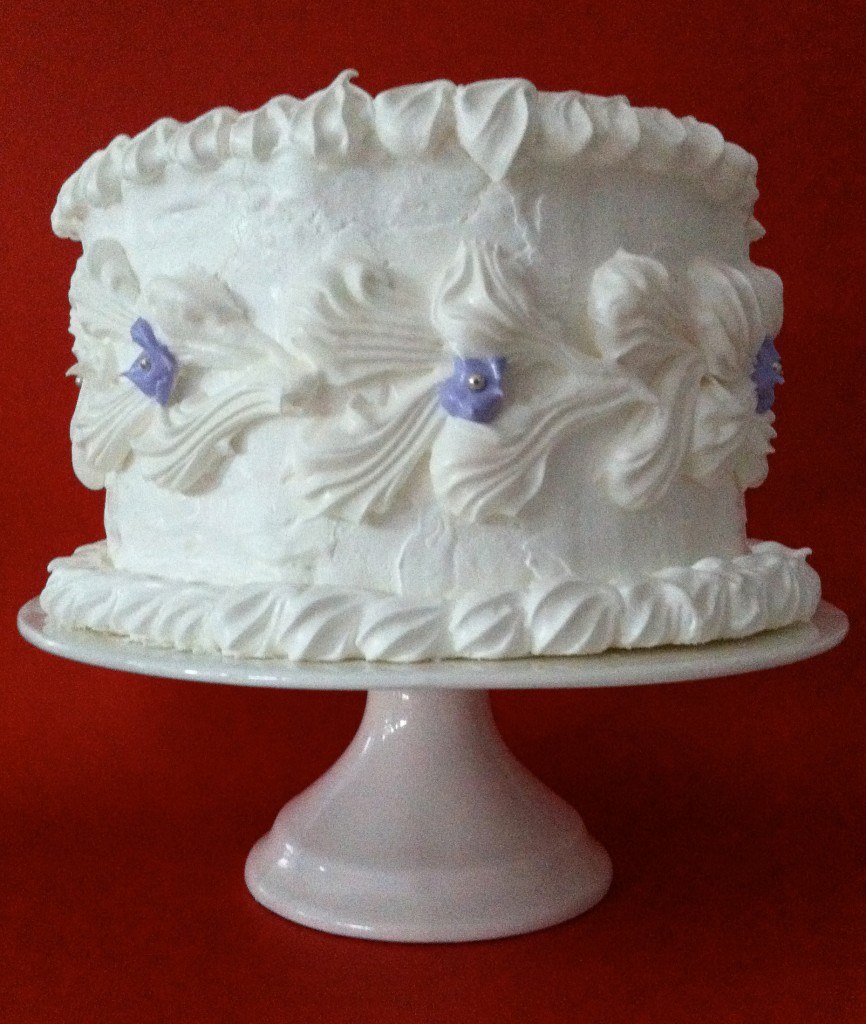
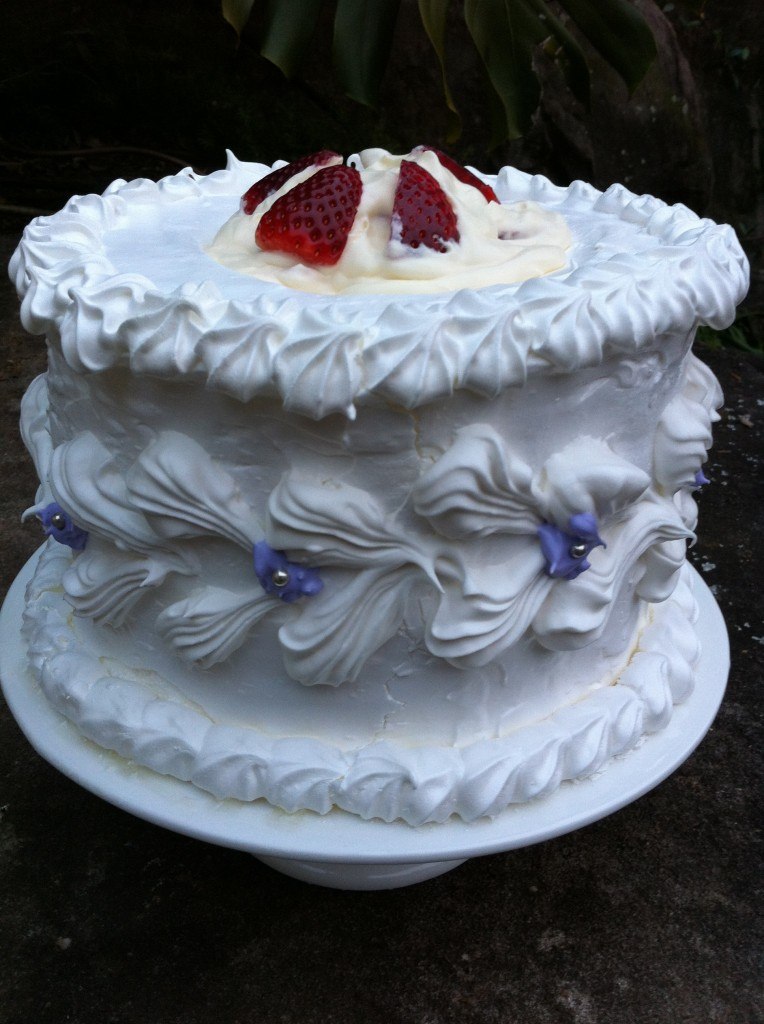
Meringue cake is a pavlova that is dressed up for the ball.  Its’ proper name is a Spanish Wind Torte and as a child I used to admire the photo of it that adorned the front of Time-Life Foods of The World Book, “The Cooking of Vienna’s Empire”. It is a perfect gluten and wheat free birthday cake for friends with intolerances. Here I have filled it with cream and fruit, you can also add shaved chocolate to the mix if you would like it even more sweet.

Ingredients – meringue circles

8 Egg whites or 288g (10.16 ounces)
570g (20.11 ounces) or 2 2/3 cups caster sugar
1/2 tsp cream of tartar
Ingredients – meringue covering for the cake
4 Egg whites or 144g (5.08 ounces)
280g (9.88 ounces) or 1 1/4 cups plus 2 tsp caster (super find) sugar
1/4 teaspoon cream of tartar
Ingredients – Royal icing for the details
1 Egg white or 36g (1.27 ounces)
150g (5.29 ounces) or 1 cup plus 3 Tbsp icing (powdered) sugar
purple food colouring and silver cachous (optional)
Ingredients – To fill the cake
600 millilitres (20.29 fluid ounces) or 2 1/2 cups plus 1 tsp cream (35% fat)
1 Tbsp or 8g (0.28 ounces) icing (powdered) sugar
1 Tbsp vanilla
500g (17.64 ounces) or 3 1/3 cups of Fruit of your choice – eg strawberries, kiwi fruit, seedless grapes
200g (7.05 ounces) finely chopped milk chocolate (optional – I don’t think this dessert needs it but some traditional recipes include chocolate)
STEP 1: Take a saucer or a cereal bowl, turn it upside down and use it to draw 4 circles onto nonstick baking paper (this is better than greaseproof paper). I used a plate that was 19 cm (7.48 inches) or 7 1/2 inches (5.08 centimetres) in diameter.
Whisk together the 8 egg whites, sugar and cream of tartar for your circles.  Continue to beat until firm peaks form, you should be able to turn the bowl upside down without it falling out.
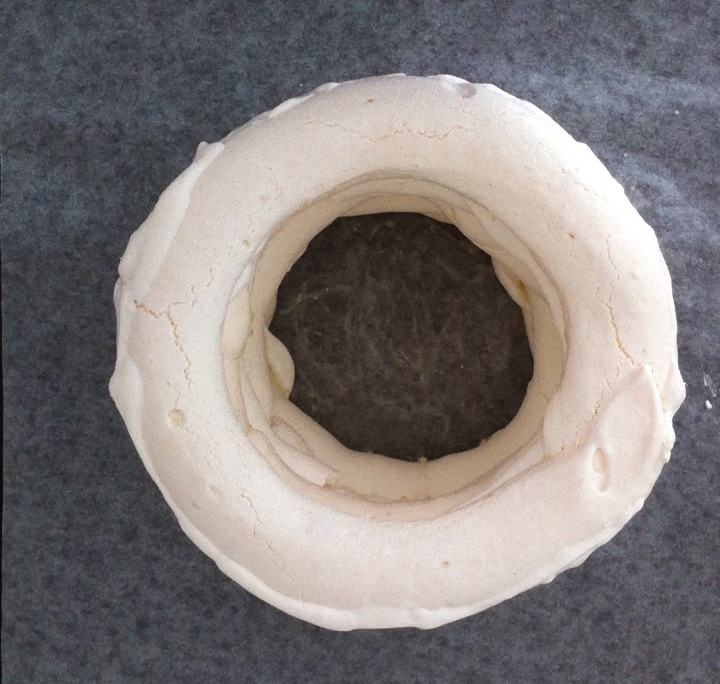
Scoop into a piping bag and pipe 5 large circles.
Bake at 93ºC (200ºF) for approximately 45 minutes.  Allow to cool.
STEP 2: Whisk together your 4 egg whites, sugar and cream of tartar for covering the cake until stiff peaks form.  Place half of this mixture into a piping bag.
Place one of you meringue circles onto a fresh sheet of non-stick baking paper.  Pipe a circle of meringue on top of it.  Carefully place a baked meringue circle on top of that.  Pipe another ring of meringue, top with baked circle and repeat until you have stacked all five rings.
Use the remaining meringue mixture to coat the sides of the ‘cake’.  Using a clean L shaped ruler to ensure sides are smooth and straight. See video below for details.
Bake at 93ºC (200ºF) for 30 minutes, then continue to bake for another 15 minutes checking it every 5 minutes – you do not want it to brown.  Allow to cool.
meringue pavlova recipe
STEP 3 Royal Icing Details: Place your 1 egg white and icing sugar in a mixing bowl and whisk until very stiff, when you turn the beaters off and lift them the mixture that is on the beaters should hold its shape.
Scoop most of the royal icing into a ziplock bag or piping bag fitted with a star shaped nozzle.  Colour the remaining small amount purple and place into a seperate bag.
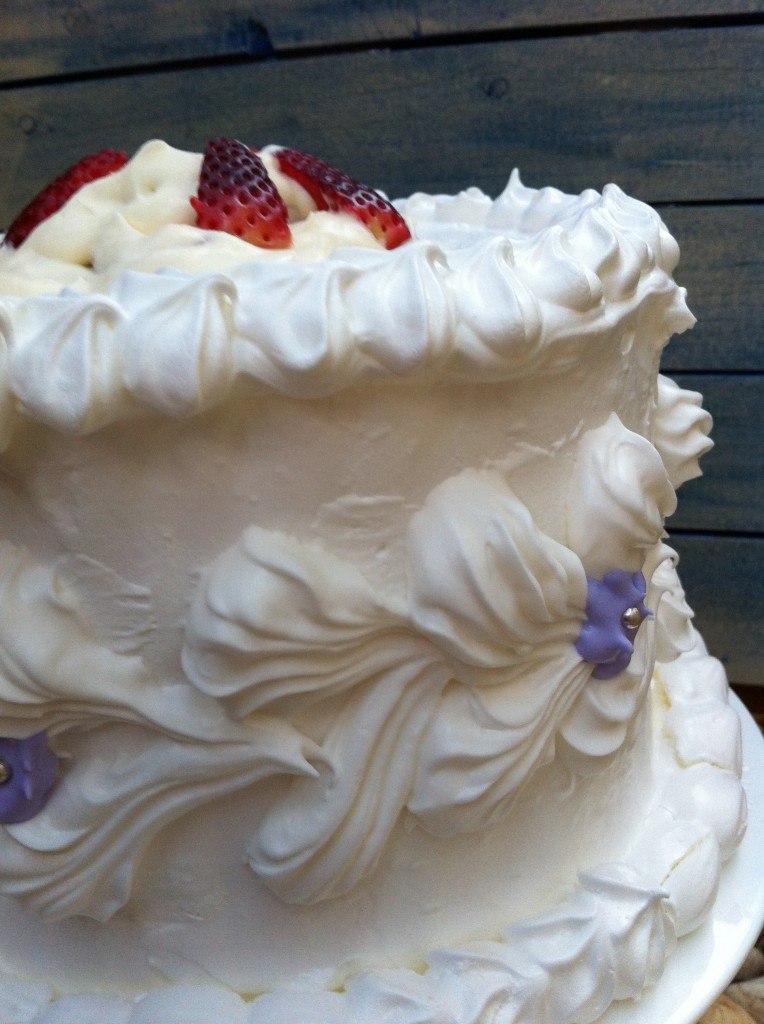
Transfer your cake to the plate you will be serving it on.  Using the white royal icing pipe a border around the top and base of you cake and then pipe a design on the sides.  Create contrast with some little purple flowers finished with a silver cachous in the centre.pavlova meringue recipe
STEP 4: Fill your cake Wash, dry and dice your fruit, reserve a few pieces uncut for the top.  Using an electric mixer whisk the cream until soft peaks form (do not over whip or you will make butter).  Fold in the fruit and chopped chocolate if you are using it.
Scoop into the centre of the cake and top with reserved fresh fruit.
gluten free cake recipe
Best eaten fresh but you can store in the fridge overnight if you need.  A word of warning if you are leaving it in the fridge overnight the meringue will begin to ‘weep’, which means a sugary syrup will start to drain to the bottom of your cake and possibly through your fridge.  If you are using a flat cake stand like the one pictured place some paper towel or a plate under the cake stand.
Resource: howtocookthat

Chocolate Cheesecake Recipe


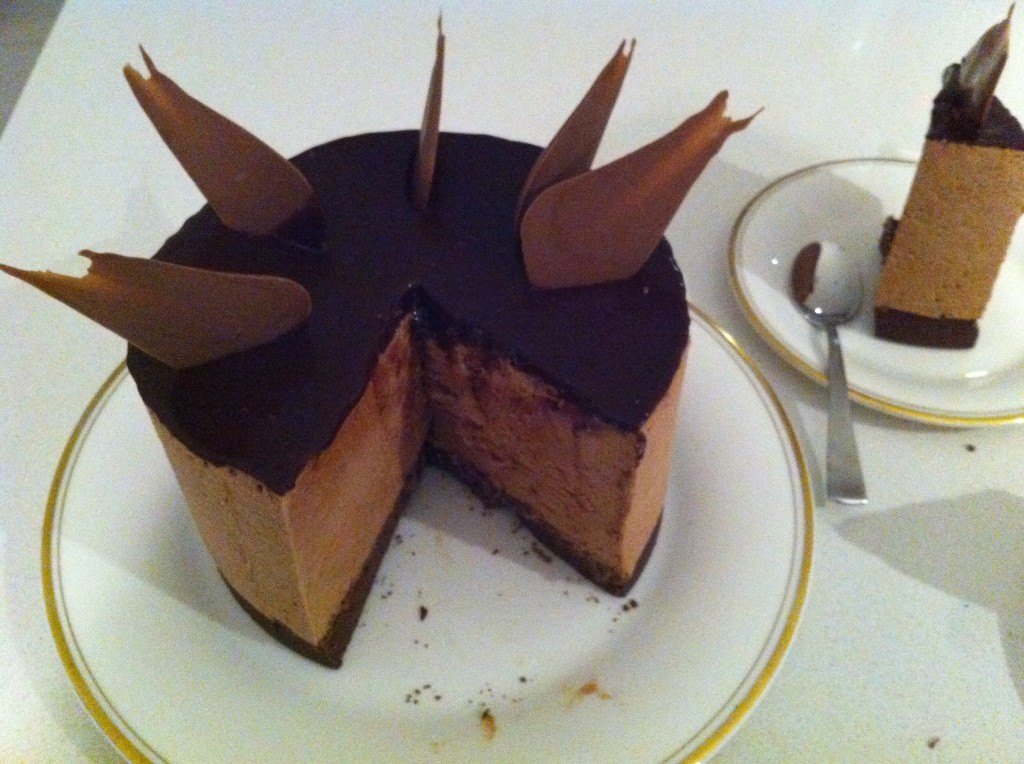
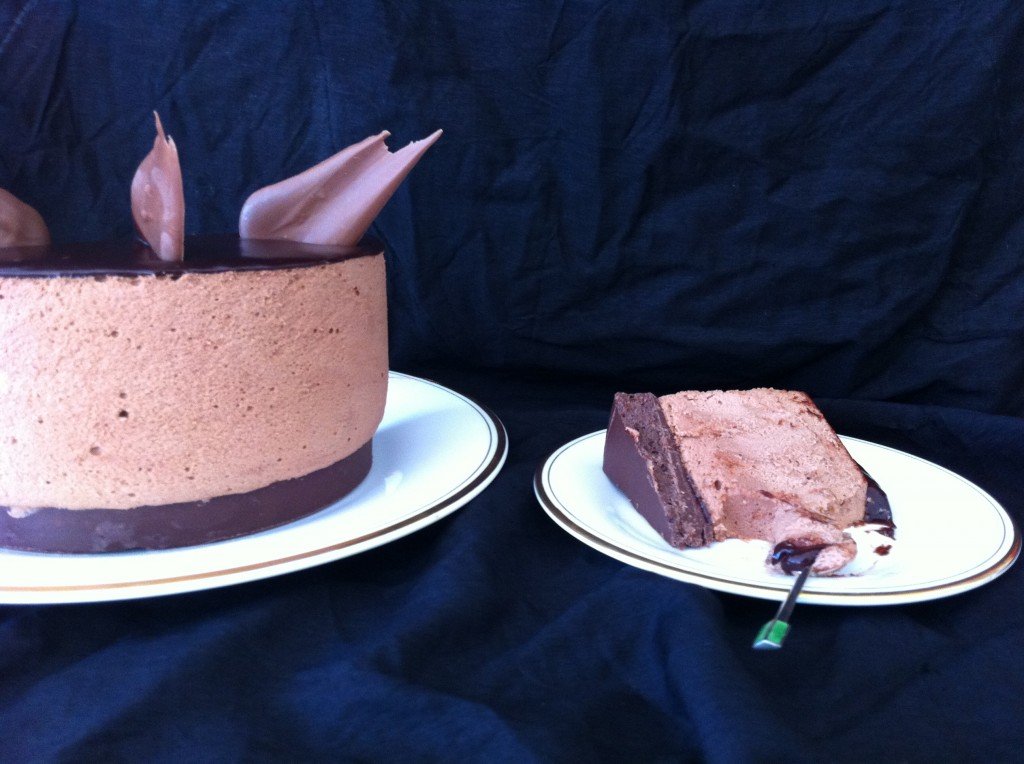
This chocolate cheesecake is the first recipe that I ever wrote out, complete with spelling mistakes like ‘wisk the egg whites’ and ‘chill untill set’.  I had been to a neighbours house for dinner when I was about 7 years old and fell in love with the delicious rich chocolatey taste.  I sat at her bench and painstakingly wrote out the long recipe – I am glad that I did as I have used it many times and it never fails to impress.
Jan3211200 requested a triple chocolate cheesecake so I have modified the recipe to have a very chocolatey base, toppings and decorations
so now really it’s a

quadruple chocolate cheesecake.

Triple chocolate cheesecake base
100g (3.53 ounces) milk chocolate
100g (3.53 ounces) or 2/3 cup plain chocolate cookies, crushed (for gluten free version use gluten free cookies)
70g (2.47 ounces) or 1/4 cup (or 4 Tbsp) nutella
Chocolate Cheesecake Filling
4 tsp of gelatine
8 Tbsp or 120 millilitres (4.06 fluid ounces) of cold water
450g (15.87 ounces) or 1 3/4 cups cream cheese
200g (7.05 ounces) or 3/4 cup plus 3 Tbsp caster (super fine) sugar
4 eggs, separated
200g (7.05 ounces) chocolate (I use half milk and half dark chocolate)
250 millilitres (8.45 fluid ounces) or 1 cup plus 1 Tbsp cream (35%fat), lightly whipped
Decoration ingredients
Chocolate Glaze Recipe – follow the link to go to the post on chocolate glaze.  You could use chocolate ganache or plain whipped cream if you prefer.
50g (1.76 ounces) milk chocolate for chocolate decorations
chocolate cheesecake recipe ann reardon
To make the chocolate cheesecake base.
Melt you chocolate, stir in the nutella and then the crushed cookies.  Pour into a lined container and place in fridge to set.
To make the chocolate cheesecake filling
Sprinkle the gelatine over the cold water and set aside.  Using an electric mixer beat the cream cheese until smooth, then add the sugar, egg yolks and melted chocolate.
In a seperate bowl whisk your egg whites to soft peaks.  In yet another bowl whip your cream.
Heat your gelatine in the microwave until it is melted.  Try 10 sec bursts at a time and watch it so that it does not boil and overflow – you can place it in a larger bowl if you are worried.
Pour the melted gelatine into the cream cheese mixture and whisk together.  Fold in the egg whites and finally fold int he shipped cream.  Pour over your base into your lined container and freeze until firm.  (SPHERE: To make cheese cake spheres pour mixture into hemishpere silicon moulds and freeze)
Decoration
Once frozen pour chocolate glaze over the top and return to the freezer.
(SPHERE: Once frozen join two halves together using a little extra cheesecake mixture to fill any gaps where they join.  Dip the sphere into the glaze, lift out and place on an upturned medicine cup).
Gently ease your cheesecake out of the container, remove the lining from the base and place on a plate.  Carefully remove the lining from the sides.
To make your chocolate decorations line a tray with alfoil, place circles of tempered chocolate onto the tray and then spread it using the back of a teaspoon. Allow to set hard then place on top of cheesecakes.
chocolate cheesecake recipes
Resource: howtocookthat

Thứ Ba, 30 tháng 8, 2016

DIY Sweet Tooth Tour of New York

If you’re in New York and you want to check out some of the sweet bakeries and patisseries, then keep reading. Here are some of the best as well as what attractions there are around them to enjoy.
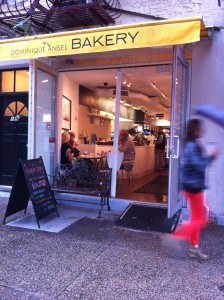
1. Dominique Ansel Bakery in Soho
DIY sweet tooth tour of NYC howtocookthat
Pastry Chef Domonique Ansel’s creations are truly beautiful. The chocolate offerings all tasted of very intense dark chocolate so if you are a milk chocolate fan try the pistachio macarons or crunch on some of his mini meringues.
DIY sweet tooth tour NYC howtocookthat
Where is it? 189 Spring Street, New York, NY
What is it nearby? Soho – Shopping
2. Momofuku Milk Bar 
Milk Bars pastry chef Christina Tosi was recently awarded as one of Americas top 10 Pastry Chefs in America by Dessert Professional Magazine. The other winning competitors plated up intricate desserts with too many elements to count, while Tosi served comparatively ugly looking cake truffles. If something that ordinary could win I assumed they must taste amazing, so we walked 16 blocks to the nearest milk bar.
DIY sweet tooth tour of NYC howtocookthat
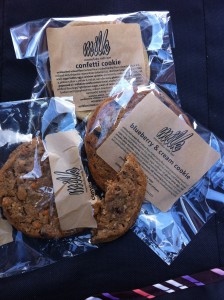
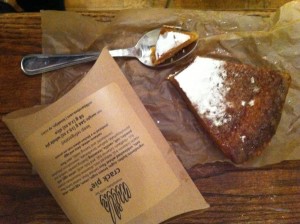
The one we visited was tiny. If we had not been specifically looking for it we would have walked straight past. As we each tasted a birthday cake truffle my eldest son remarked “It’s nice, but I’ve had better tasting things at McDonalds”.  Personally I found them a bit cloying. Imagine white chocolate ganache mixed with uncooked cookie dough and sprinkles rolled in cake crumbs – that’s what it tasted like. The cookies however were chewy, interesting and delicious. The compost cookies were definitely salty with pretzels, potato crisps, white chocolate and coffee in the mixture. If that sounds too much for you then try the confetti cookies, cookies with sprinkles in them. The stand out for me though was the gooey ‘crack pie’ pictured below.
DIY sweet tooth tour NYC howtocookthat ann reardon
Where is is? There are several of these spread around Manhattan so check their website to find the one closest to you.
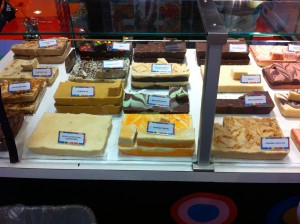
3. Smush the New York Deli of Desserts
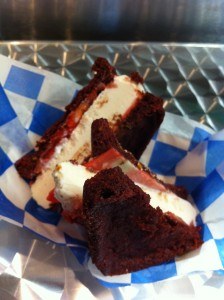
Smush recently opened in NY as a gourmet ice cream sandwich deli. You choose your rectangular shaped cookies (the bread of the sandwich), then your sauce, shaved slice of fudge (cheese), fresh fruit (salad), top it of with another cookie and SMUSH it together.
So good! I must admit I split it into quarters and shared it with my kids, had I eaten a whole one it would have been too much to enjoy.
DIY sweet tooth tour NYC howtocookthat smush
What else is near by? Bryant Park is right across the road with an cute outdoor little library, a carousel, chess, table tennis tables and plenty more.
Where is it: 40th St. btw. 5th + 6th
Website: Smush NYC
4. Dylan’s Candy Bar
For every kid visiting the world biggest candy bar is a must. It has several floors with everything from pumpkin fudge to sixlets and jelly beans in individual colours. I am sure that the photos we took here captured the biggest smiles on the kids faces.
DIY sweet tooth tour NYC howtocookthat candy
Where is it: 1011 3rd Avenue, New York, NY
What is near by? A few blocks walk will get you to FAO toy store & The Apple Store where you can let the kids play games on the ipads.
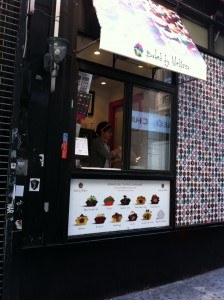
5. Baked by Melissa
Look for the tie-died cupcake to find one of the many Baked by Melissa cupcake stalls. Be warned the cupcakes are tiny, but that means that you can try more than one of the many creative flavours.
DIY sweet tooth tour NYC cupcake shop
Where is it: check their website for locations
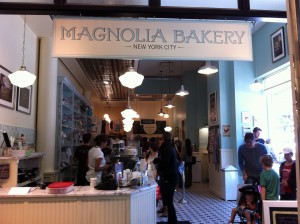
6. Magnolia Bakery
The traditional place to get yourself a cupcake when visiting NYC would have to be Magnolias Bakery. With it’s beautifully set out stores and cupcake displays you might be tempted. The only options on sale when I was there were red velvet, carrot cake and vanilla none of which inspired me to spend any money.
DIY sweet tooth our NYC
Where is it: There are 5 locations across NYC check out their website for more info
6. Francios Payard
This is one that I intended on going to but ended up visiting NYU hospital instead. After 12 hours standing next to the bed of my son I actually got a chair to sit on and after 16 hours we were transferred to the children’s ward. If you are ever in NYC with sick kids dont go to NYU hospital, take them to the peadiatric emergency at Bellevue Hospital Center 462 First Ave., at 27th St. Or even better, don’t get sick and go to Francios Payard Pattiserie.
Where is it: 3 Columbus Circle Cnr of 58th and Broadway, 1775 Broadway NYC
What else is near by – you are not far from central park, head to the boat house, hire a bike ride around central park and burn off the calories you’ve just consumed or stroll around the central park zoo.
Resource: howtocookthat

Chocolate Decorations using Transfer Sheets

chocolate decorations for dessert
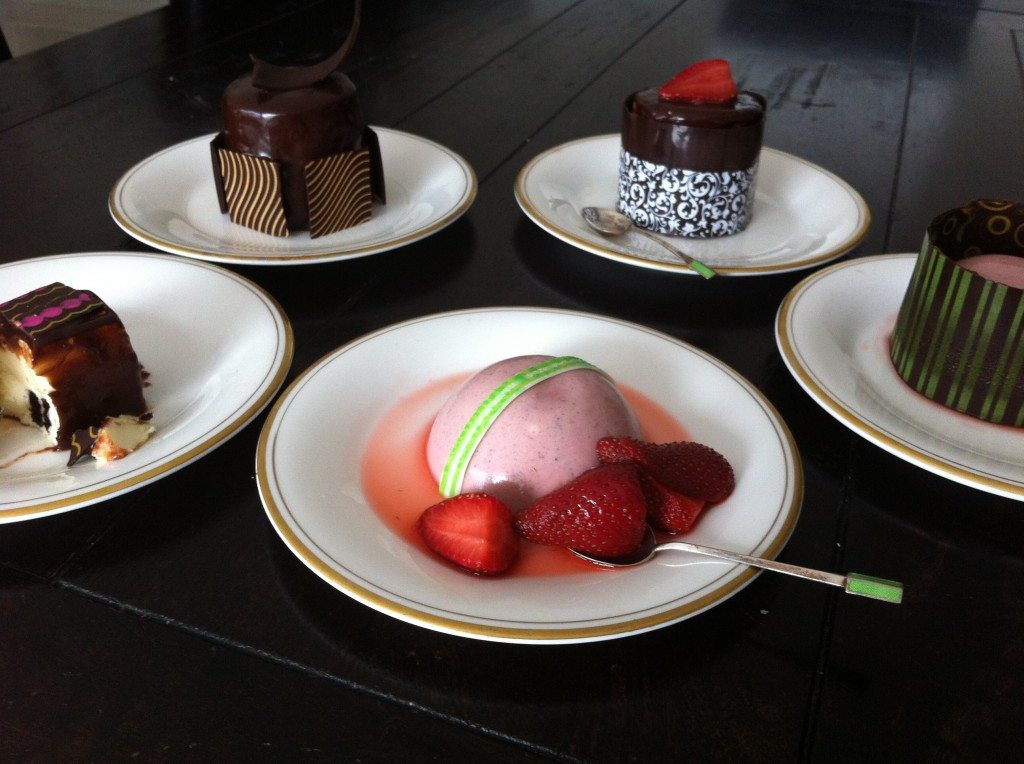
Chocolate transfer sheets allow you to add flair to your desserts. With plenty of patterns to choose from you are bound to find something that suits your style or event. The pattern is made out of coloured cocoa butter on an acetate sheet. When you apply the melted chocolate the cocoa butter melts and sticks to the chocolate.The mistake most people make when they get chocolate transfer sheets is that they do not plan out what to do with them.   If you use too much or too many designs on the one dessert it goes from looking classy to unstylish very quickly.  You can purchase chocolate transfer sheets from a range of stores. I bought these ones on ebay fairly cheaply.

Here are a few examples of how to use transfer sheets to make your chocolate decorations look beautiful.

 
1. Chocolate Collar or Cuff chocolate decorations ann reardon how to cook that
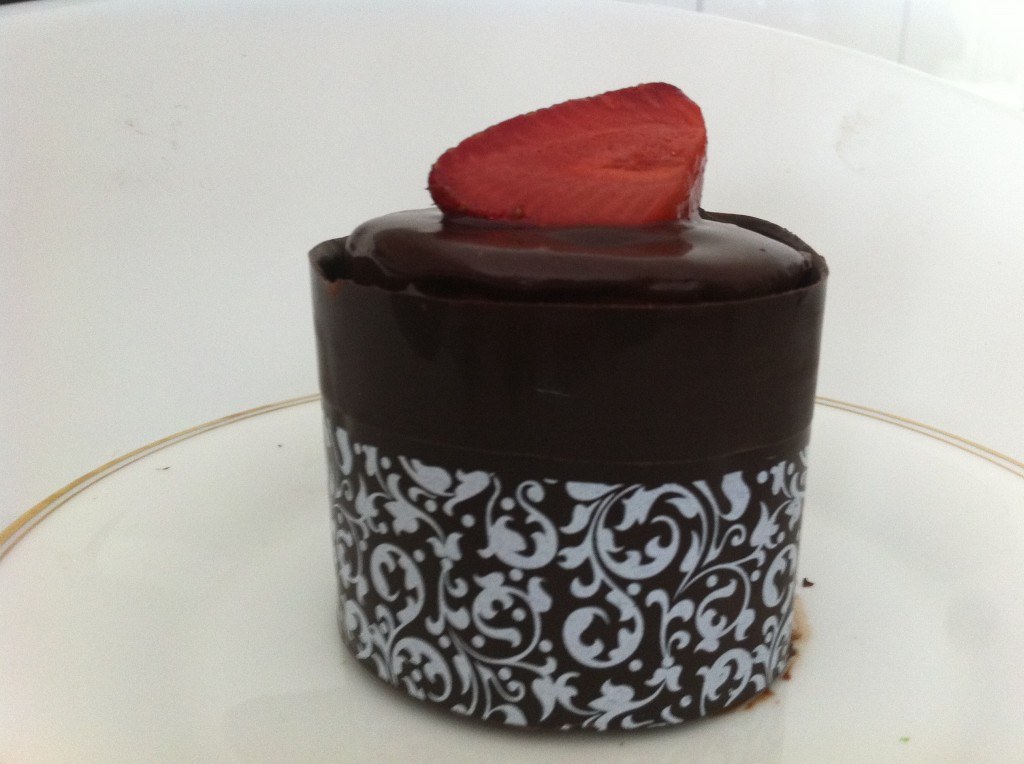
Here the design is used just on the bottom half of the cuff.  Because it is a strong design it would look overpowering if it was over the whole side.
Below is a chocolate cuff with a design on both sides of the chocolate.  If you want to fill your collar with mousse or something liquid you will need to make circle base and place your collar onto it.
2. Squares of Chocolate  
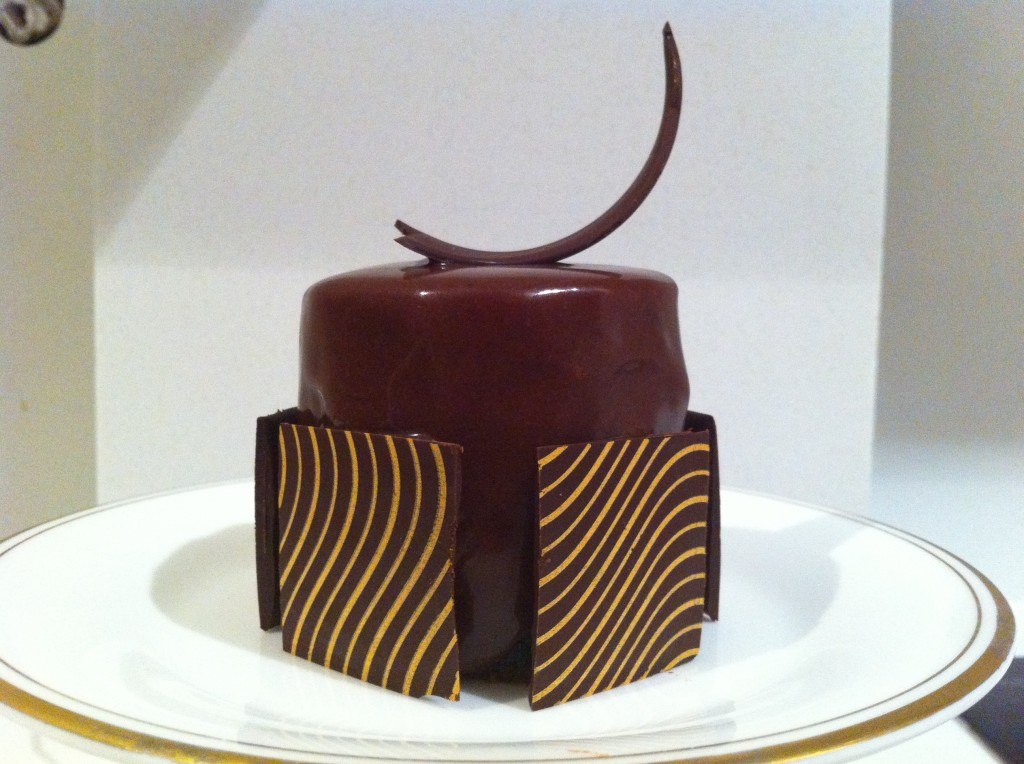
My personal favourite is to use squares of patterned chocolate around the dessert, and then top with a plain curl.chocolate decorations ann reardon how to cook that

3. Stripe
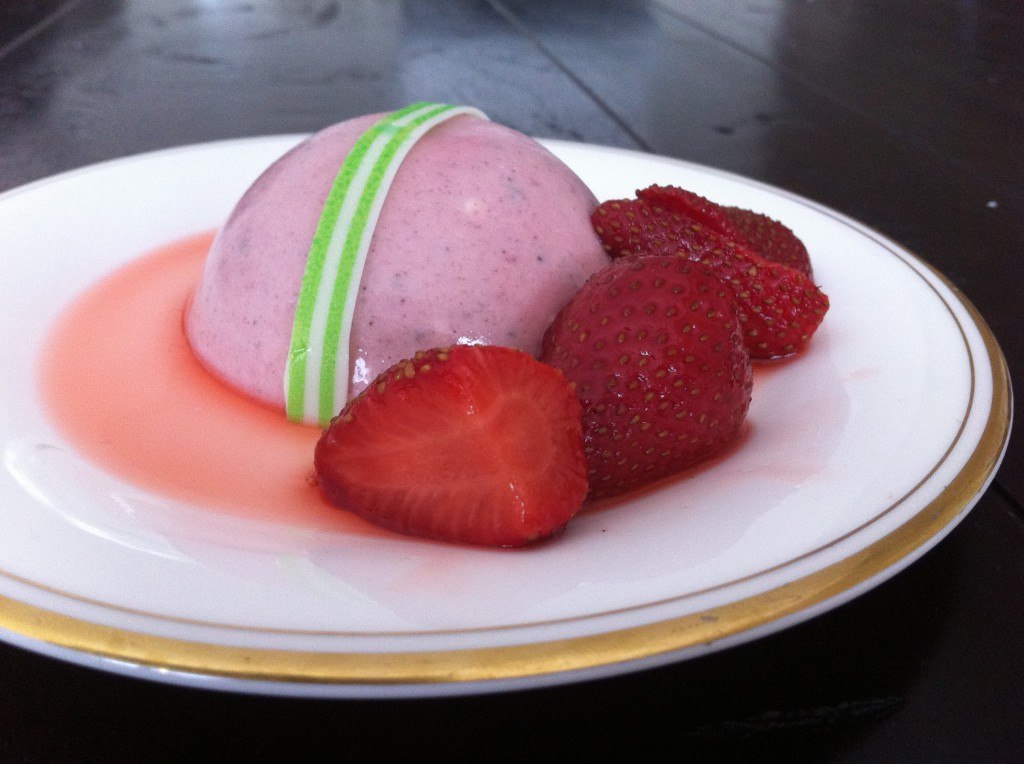
Just a tiny strip of patterned chocolate takes this dessert to the next level.  It is served with slow cooked vanilla strawberries.  To make these clean, hull and halve your strawberries then place in a ziplock bag with vanilla essence and about 1 Tablespoon of sugar.  Bring a pan of water to the boil then switch the heat to the lowest setting.   With the ziploc bag almost sealed push the base under the water, this forces the rest of the air out of the bag.  Close off the top and rest a wooden spoon over the bag so that it sits just under the water but not touching the base of the pan.  Leave for approx 15-20 minutes until strawberries are softened and a juice has formed from the vanilla and sugar.
chocolate decorations how to cook that ann reardon
You may also like this earlier post on other types of chocolate decorations.
If you are not sure what type of chocolate to use the video below is for you…
Resource: howtocookthat

Giant Oreo Cheesecake Recipe

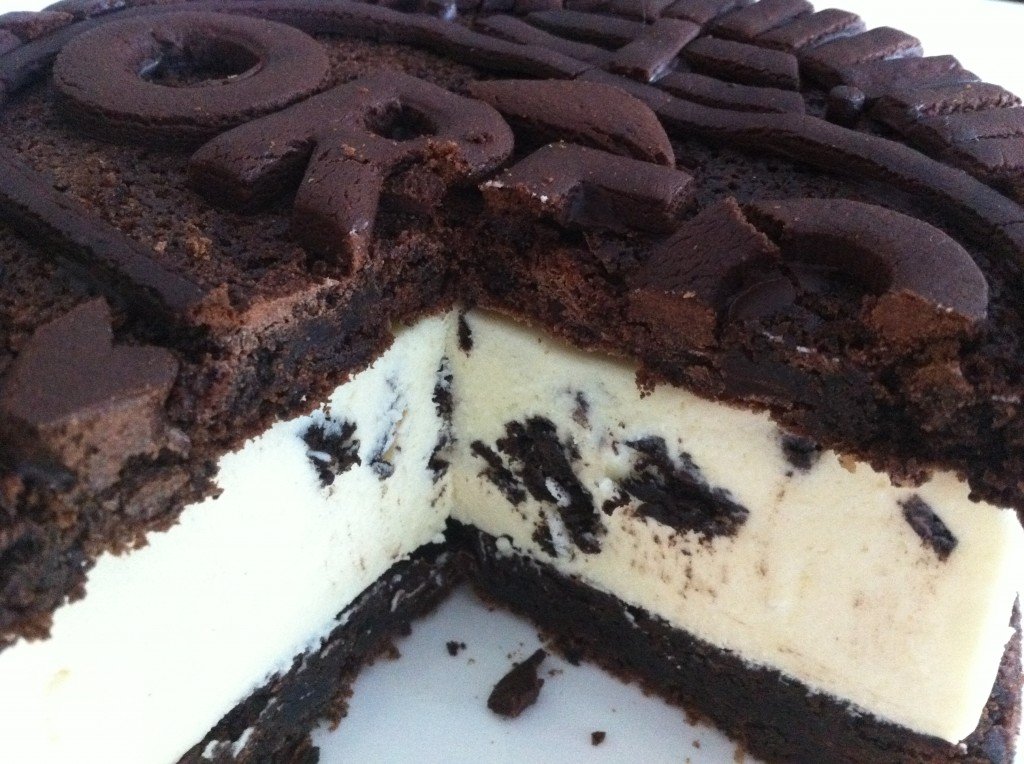
giant oreo no bake cheesecake recipe how to cook that
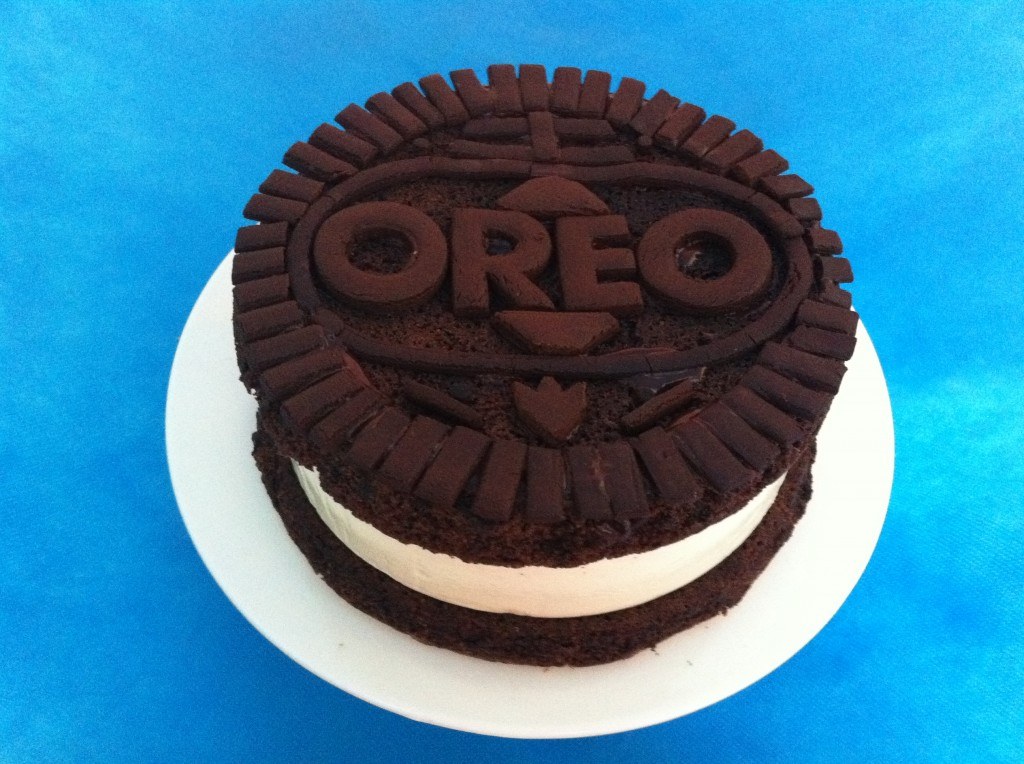
This oreo no bake cheesecake tastes so good you have to try it. Decorating it like an oreo is optional but makes it a fun dessert to serve to your guests.

Cookie Dough for details 

(this will make more dough than you need so make extra into some cookies).
1 cup or 225g (7.94 ounces) sugar
230g (8.11 ounces) or 1 cup plus 1tbsp butter
1 egg
2 1/2 cups or 375g (13.23 ounces) plain flour
1/2 cup or 55g (1.94 ounces) cocoa powder
70g (2.47 ounces) dark chocolate
Beat together the butter and sugar until smooth. Mix in the egg and then the plain flour. Melt the chocolate and work quickly to mix it into the dough. Knead to form a ball and then roll out onto baking paper.  Cut out the letters for OREO using letter shaped cookie or playdoh cutters. Cut two triangles, use a straw to cut some mini circles and then cut lots of strips and chop them into rectangles to go around the edge of the cheesecake. Cut out an oval big enough to fit around your letters and then the other shapes as shown in the video. Bake them in the oven at 180 C (356 degrees Fahrenheit) . They will not take long because they are so thin.

Fudgy Brownie Base and Top Recipe

The cookie part of 6 oreos (reserve filling for next step)
100g (3.53 ounces) or 1/3 cup plus 2 tbsp butter
2 eggs
1 cup or 218g (7.69 ounces) sugar
3/4 cup or 120g (4.23 ounces) self raising flour
1/4 cup or 30g (1.06 ounces) cocoa powder
200g (7.05 ounces) dark chocolate, roughly chopped
Preheat your oven to 180C (356 degrees Fahrenheit). Grease and line two round 18 cm (7.09 inches) cake tins with baking paper. Place the cookie part of the oreos into a plastic bag and crush with a rolling pin until you have fine crumbs.  Put the butter into a bowl and melt it in the microwave. Add the eggs and whisk in. Pour in the sugar and mix well.  Add the cocoa powder and self raising flour and whisk through until no lumps remain.  Stir through the dark chocolate and the crushed oreos until just combined. Split the mixture evenly between the two tins.  Bake in the oven for approximately 15 minutes or until a knife inserted into the centre comes out clean. 

Oreo Cheesecake Filling Recipe

2 tablespoons gelatine dissolved in 1/3 cup water
750g (26.46 ounces) cream cheese – leave out of the fridge to soften while you make the base
1 cup or 218g (7.69 ounces) sugar
filling from 6 oreos
3/4 cup or 190ml milk
3/4 cup or 190ml cream
Additional 5 oreos chopped roughly
Line the base and sides of a 17 cm (6.69 inches) round container with baking paper. The container should be slightly smaller than the size of the base and top.  Sprinkle the gelatin over cold water, stir and leave to stand.  Beat cream cheese until smooth, add in the sugar and oreo filling.  Pour in the milk and cream and mix well.  Slowly heat the softened gelatine in the microwave until it is a smooth liquid (if you overheat  it will overflow so do 20secs at a time or use a large bowl).easy oreo cheesecake recipe recette receta cheesecake
While the beaters are running pour the gelatin into the mixture.
Roughly chop 5 oreos. Pour some mixture into the container and add some chopped oreos to the centre section, add more mixture and continue this until you have used it all. Try to keep the edges completely white by putting the chopped oreo towards the centre.  This recipe will serve approximately 15 people.
oreo no bake cheesecake recipe how to cook that

Resource: howtocookthat