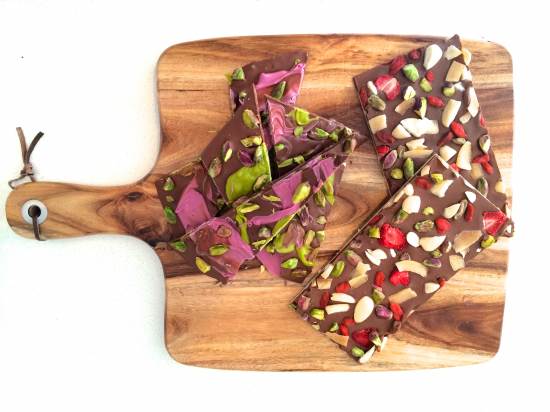
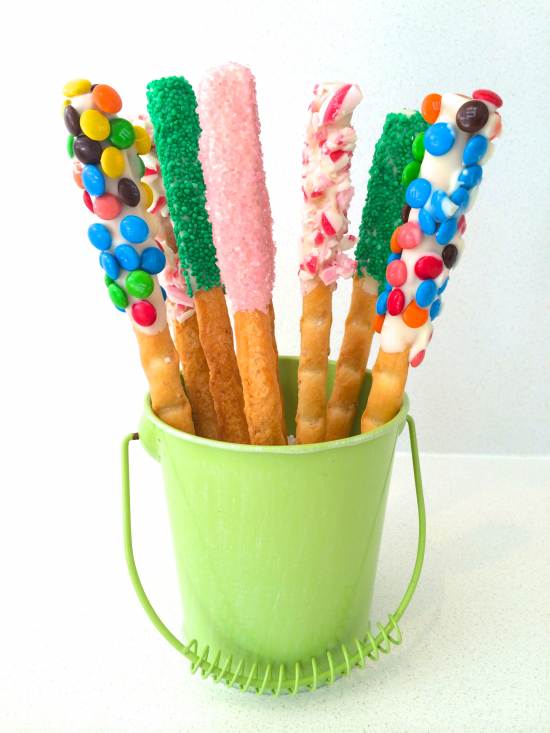
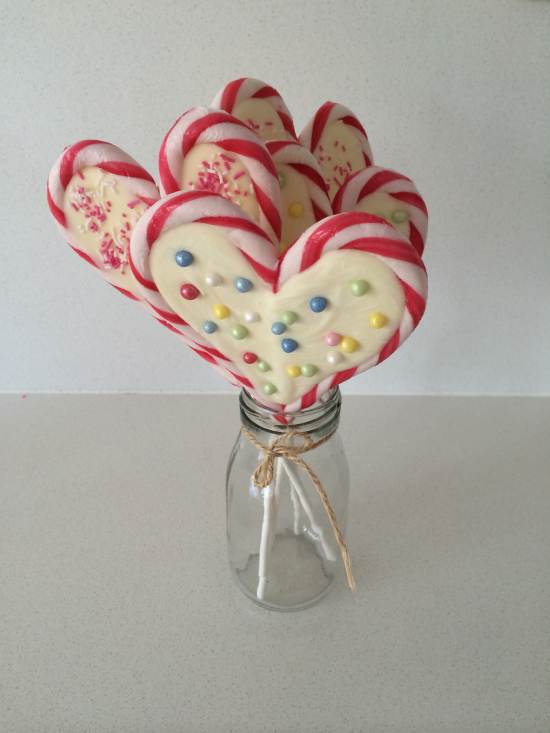
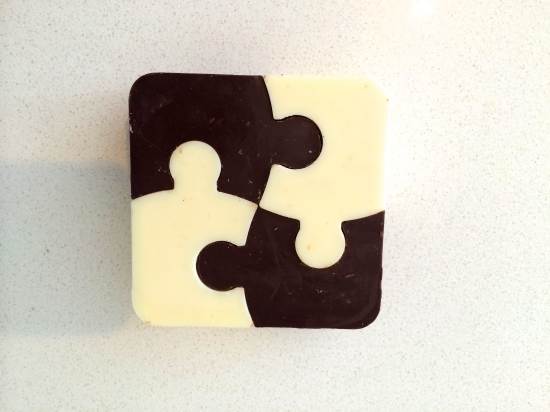
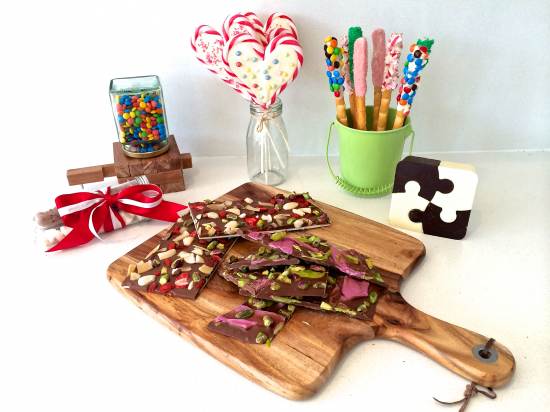
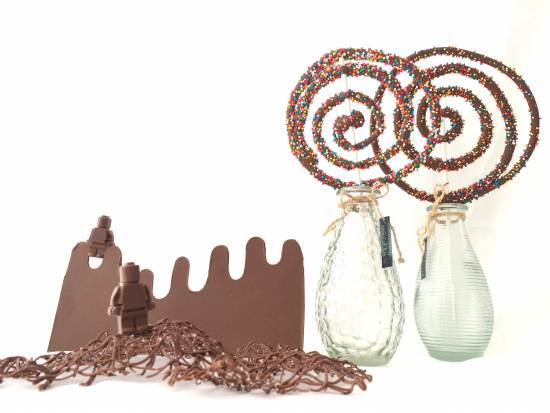
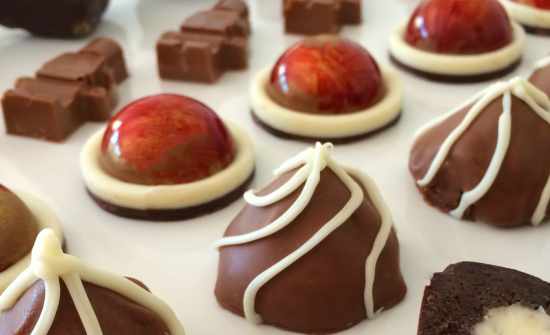
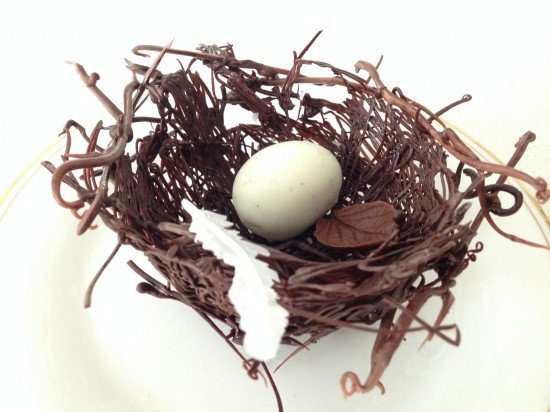
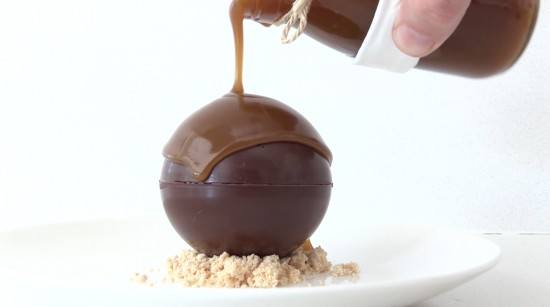
These five easy DIY gifts will amaze you. In less than 30 minutes you could whip up a bunch of candy cane hearts, pretzel sticks or an eye-catching chocolate puzzle. With a little more time you could make some beautiful chocolate bark or an m&m dispenser that kids of all ages will love.
Our Christmas tree went up this week. The lights are twinkling and the advent calendar is on the wall counting down the days. Our littlest one can’t remember last Christmas but egged on by his brothers he’s already very excited. Yesterday he asked ‘Will I get a present?’ Little ones are so easy to shop for at this time of year – the toy aisle is a playground of delights. The bigger boys are getting harder to shop for but we’ve got some good ideas … shhh I can’t tell you right now, they might be reading.
If you’re stumped on what to get someone special then why not make a gift ? Here’s five ideas for you to try.
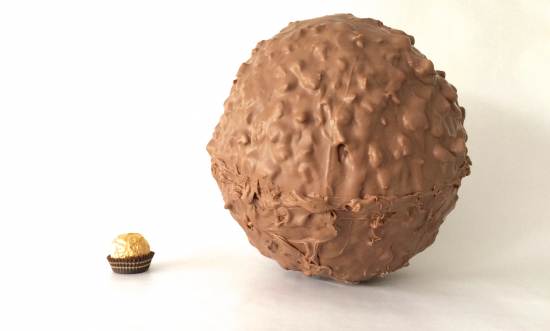
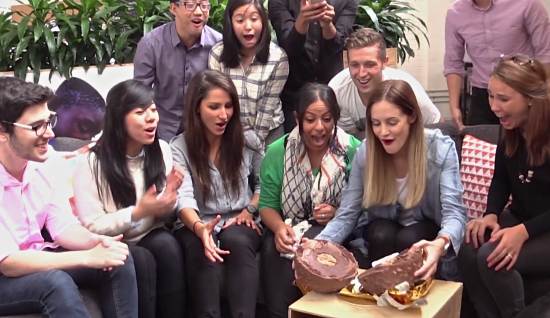
Do you want to do giant things with your life? Me too, watch this weeks video and you’ll be inspired by the wonderful people who get the giant 6kg (13.23 pounds) Ferrero Rocher. You should see the look on their faces when they unwrap it, priceless. We have been doing the giant candy bar recipe series for a while now, if you’ve only just found How To Cook That then you can check out the others here…
The quantities given below will make 2 halves (hemispheres) or 1 whole giant Ferrero Rocher
Wafer: 2 packets of rolled wafer ice cream cones Preheat your oven to 180C (356 degrees Fahrenheit) to crisp the wafers.
Hazelnut Ganache: 600g (21.16 ounces)dark chocolate (check that it contains cocoa butter, you want it to taste amazing) 1800g (63.49 ounces) milk chocolate (use real chocolate containing cocoa butter) 800millilitres (27.05 fluid ounces) or 3 1/3 cups cream (35% fat) 750g (26.46 ounces) nutella
For the hazelnut centre: 2 egg whites 60g (2.12 ounces) or 1/2 cup icing sugar 60g (2.12 ounces) or 1/2 cup ground hazelnuts 20g (0.71 ounces) or 1 Tbsp and 1 tsp sugar 30g (1.06 ounces) or 1/4 cup chopped hazelnuts
For the topping: Additional 150g (5.29 ounces) or 1 cup of chopped hazelnuts 800g (28.22 ounces) milk chocolate tempered
For the wrapping 1 roll shiny gold paper 1 sheet brown cardboard 1 roll masking tape
With thanks to thankyou. group for agreeing to be in this video, being awesome and eating lots of chocolate!
Everyday on How To Cook That there are hundreds of comments, requests and questions. Lately there has been a groundswell of questions all about chocolate. What chocolate should I use? How do I temper it? Can I temper in a double boiler? What is tempered chocolate? This video reveals the answer to all of your chocolate questions so you can makebeautiful truffles, giant chocolate bars and chocolate decorations at home.
How I can find out if I have fake chocolate or real chocolate? If it contains cocoa butter it is real chocolate If it contains vegetable fat then it is compound or fake chocolate.
Can you eat fake chocolate? Yes you can
If I have to temper chocolate is it real or fake? Real chocolate or chocolate that contains cocoa butter needs tempering. Fake or compound chocolate does not need tempering.
What is the difference between tempering and melting your chocolate? If you just melt it and then leave it at room temperature it doesn’t set (see the video for an explanation and footage of the difference) Tempering allows it to set at room temperature and gives it a good shine and snap.
Tempering in the microwave
One cheats way is just to keep it in temper. Finely grate chocolate put it into a microwave safe plastic bowl, and microwave on high heat for 20 seconds then stir, 10 seconds and stir, 10 seconds, 10 seconds stir. See video for explanation of how this works.
How do you know if you’ve overheated it? Is there a certain temperature it could not go past? That’s correct you need to keep it under a certain temperature, after that it will melt the cocoa butter completely. The temperature is different for milk, dark and white see the video for more information.
Instead of grating the chocolate could I use powdered chocolate? Like ovaltine or nesquick? Can I use nutella? hersheys syrup? These are chocolate flavoured, but they are not chocolate. You can’t use them to make chocolate decorations.
What if you don’t have a microwave, can you use a double boiler? You can’t use a double boiler to keep it in temper because it makes that chocolate too hot and melts all the cocoa butter particles. But you can use one of the methods below to temper it instead.
Tempering chocolate using freeze dried cocoa powder
See the video at the top of this post for a demonstration Completely melt your chocolate either in the microwave or over a double boiler. Then cool it until it comes down to about 97F (36.11 degrees Celsius), this took about 10 minutes. Use a candy thermometer to check the temperature.
Add in a teaspoon of the freeze dried cocoa butter and stir it though. You can purchase freeze dried cocoa powder here, it is not cheap but you don’t need much.
If you add it when the chocolate is too hot you will completely melt the cocoa butter particles so it won’t help temper it at all. If you add it when it is too cold the freeze dried cocoa butter won’t mix in and you’ll get little white dots on your chocolates.
Tempering chocolate using the tabling method
See the video at the top of this post for a demonstration
Completely melt your chocolate. Tip out 2/3 of your chocolate onto a cool surface, stone or marble are best (melamine will not work as it is not cool enough). Spread out the chocolate to cool it down and then bring it back into the middle keep doing this until you get ribbons on top. Scrape it into the bowl with the rest of the chocolate stir through.
Tempering chocolate using block seeding
See the video at the top of this post for demonstration
Melt your chocolate, cool to 97F (36.11 degrees Celsius) then add in a chunk of tempered chocolate. Keep stirring it around with the chunk in it until it comes down to about around 91F (32.78 degrees Celsius) then take out the chunk and you’re good to go.
Do we need to temper compound chocolate?
No compound chocolate does not need tempering you can melt it in the microwave or double boiler, spread it out or mold it and it will set at room temperature and have a nice shine. It is very easy to use.
Can we just use compound or fake chocolate for everything? Yes you can but it does not taste as good as real chocolate.
What can go wrong?
Seized chocolate If you get water in your chocolate it will seize. Your only hope is to add more liquid like cream or milk and stir it in then push it through a fine sieve to make a ganache instead.
Burnt chocolate If you don’t stir your chocolate it can burn.
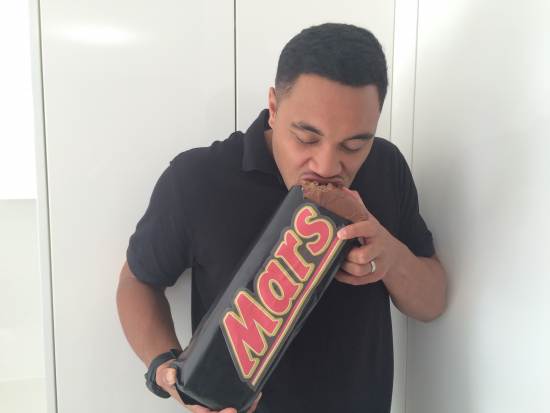
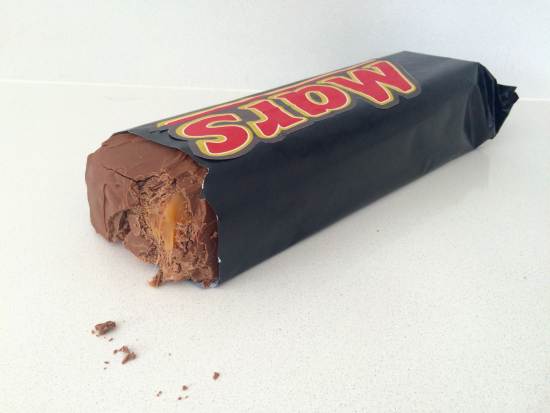
I love making giant chocolate bars and giving them to amazing people. So far we’ve surprised some of our heroes with an enormous Kit Kat, Twix, Ferrero Rocher and even a world record Snickers! This week, you’re in for a treat as you meet Topou – a professional athlete, a great leader for young people and an all-round quality guy. I had fun experimenting to get the recipe exactly like a real Mars Bar (or you might call it a Milky Way depending on where you live in the world). I hope you enjoy making your own huge Mars and are inspired to do giant things with your life.
A container with straight sides. The one I used was 9cm (3.54 inches) wide and 34cm (13.39 inches) long
For the caramel 1 cup or 250millilitres (8.45 fluid ounces)glucose syrup 1 cup or 250millilitres (8.45 fluid ounces) cream (35% fat) 1 ½ cups or 315g (11.11 ounces) sugar 1/2 cup or 125millilitres (4.23 fluid ounces) milk (4% fat) Place all ingredients into a saucepan and stir until the sugar is dissolved. Wash down the sides of the pan and continue to heat unstirred until it reaches 245F (118.33 degrees Celsius). Pour into the container and immediately place the container into a sink filled with cold water. Do not allow the water to come up over the sides of the container you just want it to rapidly cool the caramel so that it does not keep on cooking.
For the nougat 90g (3.17 ounces) or 2 large egg whites 1/4 cup or 63millilitres (2.13 fluid ounces) glucose syrup 1 tsp vanilla
2 cups or 436g (15.38 ounces) sugar 3/4 cup or 188millilitres (6.36 fluid ounces) water 1 1/2 cups or 375millilitres (12.68 fluid ounces) glucose syrup 1 tsp malt extract 60g (2.12 ounces) or 1/2 cup unsweetened cocoa powder, sifted 200g (7.05 ounces) milk chocolate, chopped
Combine the egg whites, glucose syrup and vanilla in the bowl of an electric mixer. Place the sugar, water, glucose syrup and malt caramel into a saucepan and heat. Stir until the sugar is dissolved, then wash down the sides of the pan and add a candy thermometer. Once it reaches 240F (115.56 degrees Celsius) turn the beaters on high to whip the egg white mixture. When it reaches 260F (126.67 degrees Celsius) remove from the heat and pour in a thin steady stream into the whites with the mixers still running on high. Once it thickens turn the mixers down and add the cocoa powder and chocolate. Turn off mixers and fold through until the colour is even and pour over the caramel. Spread out with a spatula to flatten. Allow to cool to room temperature and then place in the freezer for 2 hours to harden a little for coating with chocolate.
Chocolate Coating *200g (7.05 ounces) milk chocolate for the base additional *350g (12.35 ounces) milk chocolate for coating the top and sides of the bar. * make sure that you temper your chocolate so that it sets firmly at room temperature.
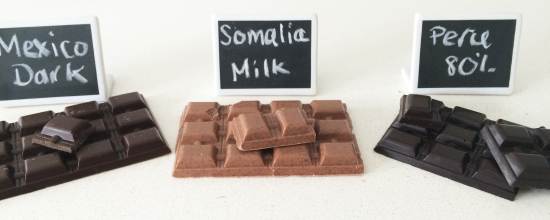
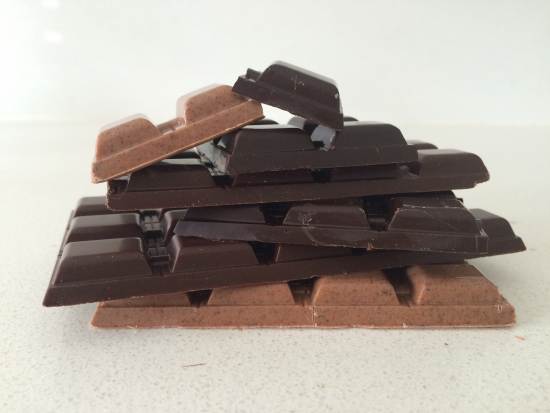
Bean to bar chocolate is taking the world by storm. Follow the video to see how you can make your very own chocolate at home. The best part is that you can control just how much sugar to add as well as any extra ingredients.
Just as there are many different flavours of coffee as a result of the beans used, there are also loads of variations with cocoa beans. However it’s likely that most of the chocolate you’ve ever tasted will have come from only one variety. Bean to bar chocolate makers use different beans from all over the world to help independent growers and to bring those flavours to you. If you want to make your own chocolate then you can also contact a bean to bar chocolate maker to source a small quantity of cocoa beans and cocoa butter. There’s a growing list of bean to bar chocolate makers here. If you’re thinking about ordering some beans, then as a general rule 115g (4.06 ounces) of beans produces around 90g (3.17 ounces) of roasted, peeled cocoa nibs.
And even if you can’t get hold of cocoa beans, you can swap out the nibs in each recipe for half cocoa butter and half cocoa powder by weight.
STEP 1. ROASTING Spread the beans out in a single layer onto a lined baking tray. Take out any shriveled beans Preheat your oven to 129ºF (54ºC) , put the beans in and turn the heat up to 250ºF (121ºC) for 15 minutes. Turn the oven back down to 122ºF (50ºC) and open the oven door for a minute to let it rapidly cool down. Then close the oven door and leave the beans in there for another 12 minutes.
Take them out of the oven and let them cool for 5 minutes.
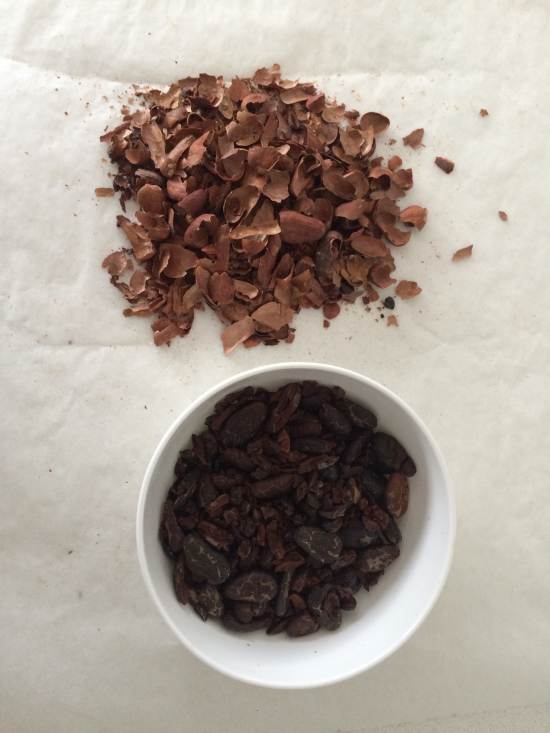
STEP 2: PEEL THE BEANS The easiest way to do this for small quantities is by hand. Gently twist the bean and then remove the shell.
The other way you can do this is to crush the beans using a rolling pin. Tip them onto a bowl and gently blow with a hairdryer to remove the lighter shells.
STEP 3. MILL THE BEANS Use a blender or food processor to make the beans as fine as you can.
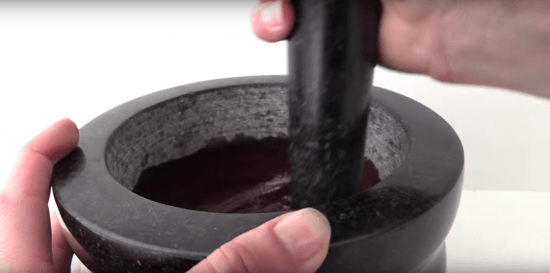
STEP 4. GRIND THE BEANS You can use a mortar and pestle or grind the beans as finely as you can. If you want them really fine like in commercial chocolate then you’ll need to buy a chocolate melanger, but they are not cheap.
Warm the mixture to melt the cocoa butter in it and continue to grind. If you are using a mortar and pestle you will need to add the additional melted cocoa butter now.
STEP 5. TEMPER the chocolate. Make sure you temper your chocolate before you mold it or it will not set at room temperature. You will find my video on tempering chocolate at home here.
bean to bar chocolate recipes
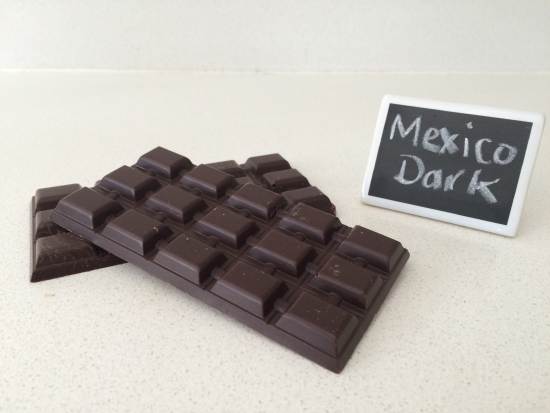
Dark Chocolate Recipe Makes two 75g (2.65 ounces) bars 90g (3.17 ounces)cocoa nibs 40g (1.41 ounces) or 1/3 cup (icing) powdered sugar 26g (0.92 ounces) cocoa butter – optional but needed if you are making by hand without a chocolate melanger
Milk Chocolate Recipe (similar to the proportions in a bar of Cadburys milk chocolate) 46g (1.62 ounces) or 3 Tbsp plus 2 tsp sugar 16g (0.56 ounces) or 1 Tbsp plus 1 tsp cocoa butter 14g (0.49 ounces) or 1 Tbsp plus 2 tsp cocoa nibs 24g (0.85 ounces) or 1/4 cup milk powder Additional 8g (0.28 ounces) or 2 tsp cocoa butter if making by hand without a chocolate melanger
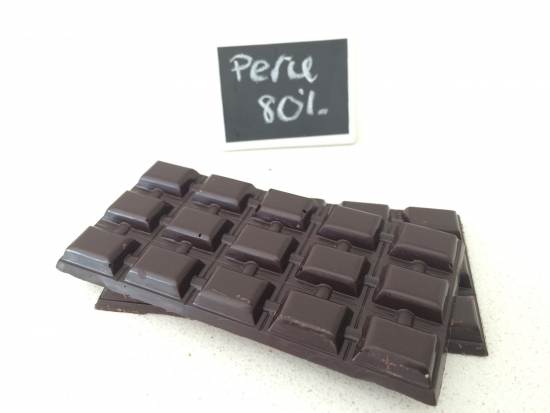
80% Dark Chocolate Recipe (similar to proportions in a Lindt 80% dark chocolate bar) 35g (1.23 ounces) or 1/4 cup cocoa nibs 30g (1.06 ounces) or 1/4 cup unsweetened cocoa powder 25g (0.88 ounces) or 2 Tbsp cocoa butter 13g (0.46 ounces) or 1 Tbsp sugar 2g (0.07 ounces) or 1/2 tsp vanilla seeds scraped form a vanilla pod
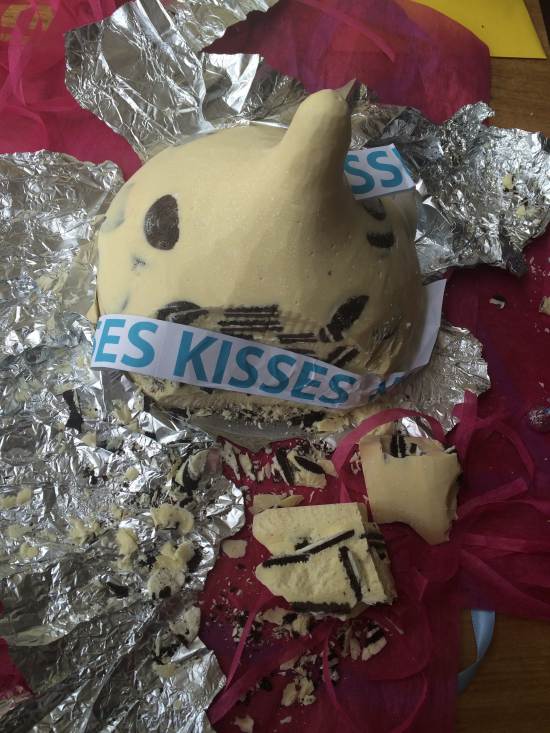
Meeting people who dedicate their lives to helping others is always inspiring. Being able to give a little something back (this time in the form of a giant Hershey’s Kiss) is something that I absolutely love.
Giant Hershey’s Kiss Recipe
4kg (8.82 pounds)quality white chocolate 600g (21.16 ounces)oreos large funnel (this is the one i used) kisses pdf print and cut into strips
Melt and temper your white chocolate. If you don’t temper it it won’t set firm at room temperature.
Block one end of the funnel then put the whole thing into a container to hold it upright.
Ladle some of your tempered chocolate into the funnel and along the sides. Make sure you are using real chocolate that contains cocoa butter, compound chocolate doesn’t taste as good and if you’re giving someone a giant gift you want it to taste amazing not just look good.
Add in your oreos. Pressing some onto the sides so that you can see them on the outside of the kiss. Keep piling in more chocolate and oreos until the funnel is full.
Leave to set overnight at room temperature. Then place in the fridge for 30 minutes before tipping out to help loosen the mold.
Follow the directions in the video for carving the chocolate to just the right shape. Then wrap in foil with the kisses printout down the middle.
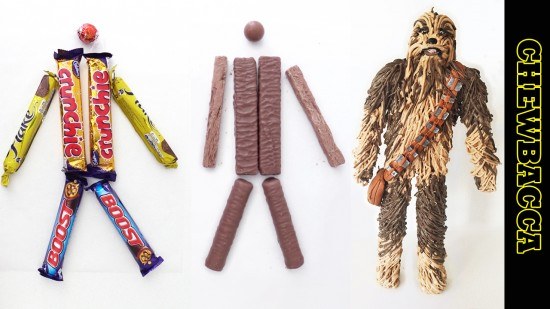
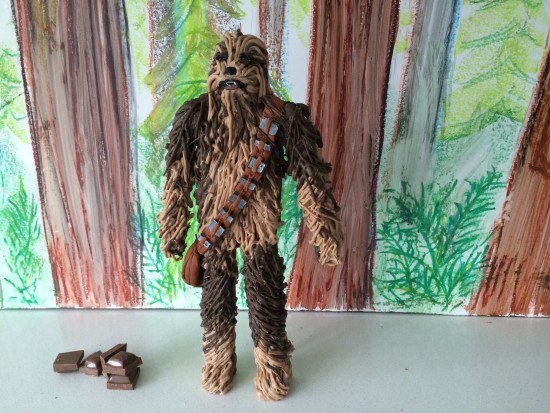
Chewie, the walking carpet, lovable fuzzball with a limited vocabulary is one of my favourite Star Wars characters. He is like a giant teddy bear body guard. I have made him today out of chocolate bars, he even stands up. BRRWHHAARG! My husband took one of our kids to Australia Comic Con this school holidays and they spent hours looking at the stalls and the amazing costumes everyone had made. There was of course plenty of star ward outfits ready for the new movie including the cutest 2 year old queen Amidala.
To make your own chocolate chewbacca you will need:
2 rounded chocolate bars for the legs (I used boost bars) 2 rectangle bars for the body (crunchie) 2 narrower round bars for the arms (flake) a round ball for the head (lindt ball) an extra bar for the feet (boost) 100g (3.53 ounces) milk chocolate for his fur 100g (3.53 ounces) white chocolate for his fur 40g (1.41 ounces) brown fondant and 20g (0.71 ounces) black fondant and silver luster dust for his bag and strap